- Topic
- maintenance
- Appliance
- refrigeration
- Filed
Manually defrosting a Thermador refrigerator-freezer
To defrost a refrigerator-freezer by hand, cut the power, empty it and let the ice melt into towels and a pan. Never chip it or aim heat at the liner.
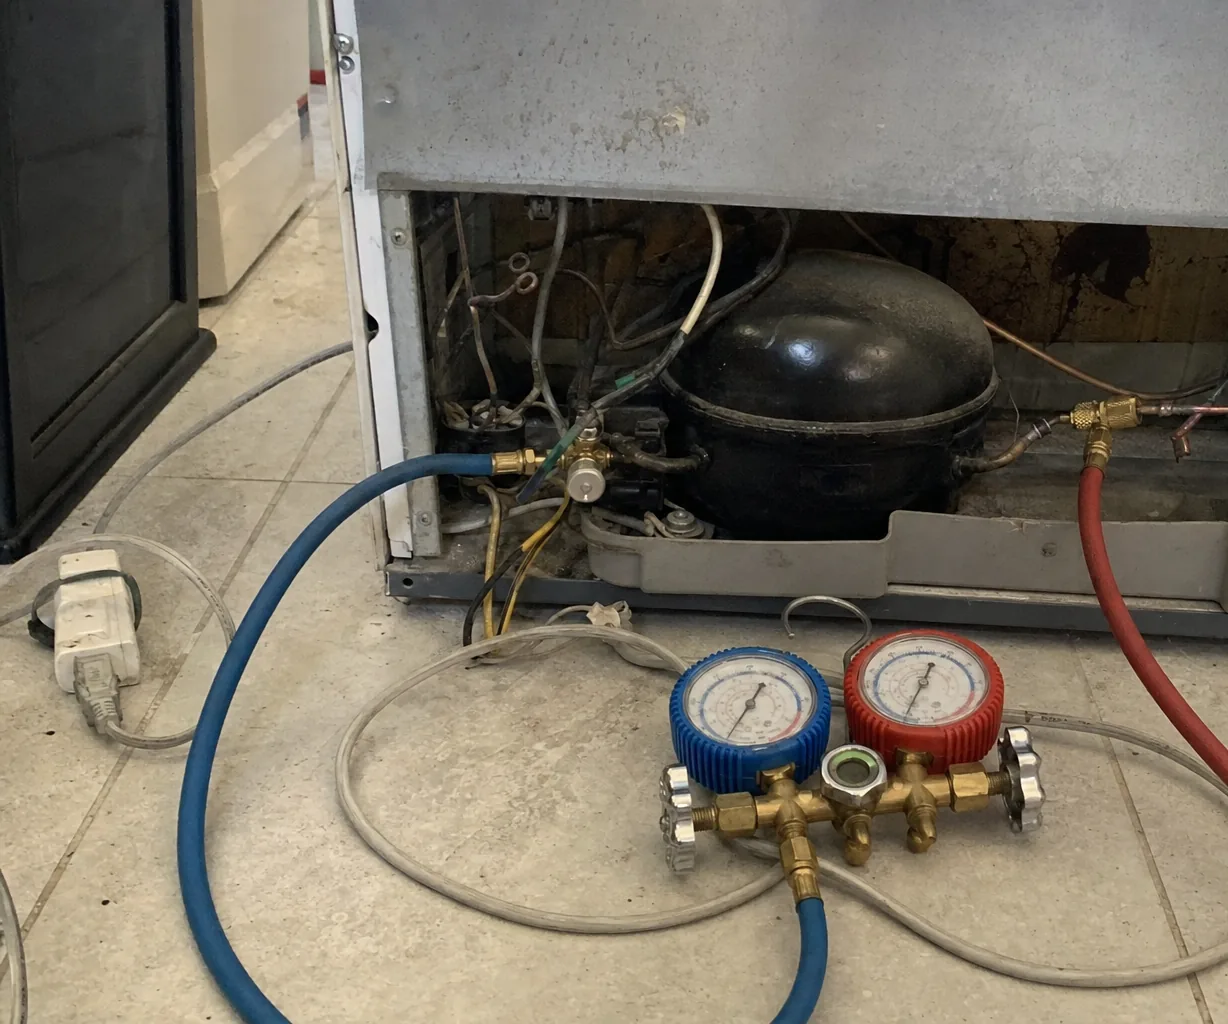
To defrost a refrigerator-freezer by hand, switch it off at the plug or the breaker, move the food into coolers, prop the doors wide open, and let the ice melt at room temperature while towels and a shallow pan catch the water. Do not attack the frost. USDA food-safety guidance rules out hair dryers, heat guns or any other electric heater, ice picks, knives and anything else sharp, because each can damage the inner lining. And if the freezer is a frost-free built-in, a thick crust of ice is a symptom: the automatic defrost has quit, so a manual thaw buys you time but repairs nothing.
Why the ice builds up at all
Each time a door opens, room air spills in, and that air carries water vapor. In a muggy Clay County summer it carries plenty. The coldest surface in the cabinet is the evaporator, the finned coil that does the real chilling, and moisture freezes onto it the way your breath fogs a cold window. A door resting against a basket, or a gasket that no longer closes all the way around, feeds that process day and night. ENERGY STAR points owners of any refrigerator at the same two habits: keep the door seals airtight, replacing them when they leak, and keep the door open for as little time as you can.
How a frost-free freezer clears itself
In a frost-free design the evaporator sits hidden behind a panel at the back or top of the compartment. A few times a day the control pauses cooling and powers a small heater fixed to that coil. A sensor or thermostat shuts the heat off once the fins are clear, the meltwater runs down a drain tube to a pan near the compressor, and warmth from the machine compartment dries it away.
When one link fails, the ice keeps growing. A burned-out heater, a sensor that reads wrong, a control that never calls for a defrost, or a drain tube frozen shut will each leave a white sheet across the rear wall, a hump of ice on the floor, or a fan that ticks and scrapes. The fresh-food side often warms first, since its cold air must pass through a coil that is now a solid block.
A manual thaw, step by step
- Unplug the unit or turn off its breaker. On a built-in, confirm you have the right circuit.
- Pack the food into coolers with ice packs and keep the lids closed.
- Lay towels on the floor and set a shallow pan under the front lip.
- Leave the doors open. A fan aimed in from across the room speeds things up without putting heat inside.
- Change towels as they soak through, and lift ice out by hand only once it comes loose by itself.
- Wipe the walls with warm water and a spoonful of baking soda, then dry every surface before restoring power.
- Let the cabinet pull down before you reload it.
On a Thermador Freedom freezer column the recommended setting is 0°F (-18°C). If you plan to load a big batch at once, the use and care guide suggests turning on Super freezing 4 to 6 hours beforehand when you are freezing roughly 2 kg of food. Expect the temperature alarm after a long thaw, too: the display shows the warmest reading the column reached, and once things are cold again a press of the confirm button clears it.
Why chipping and heating do more harm than the ice
A freezer liner is a thin molded shell. Behind it lie foam insulation, wiring and, in many cabinets, refrigerant tubing. An ice pick or knife tip that slips can split the plastic or pierce a line, and a pierced line lets the refrigerant escape. Then the problem is no longer a defrost part but the sealed system. Thermador covers that system separately on its built-in refrigerators, with parts and labor from the 3rd through the 6th year and parts only from the 7th through the 12th. Heat guns and hair dryers warp plastic, soften the liner and drain trough, and put a live appliance in a cabinet full of meltwater.
Checks worth doing before you power back up
While the compartment is empty, run your fingers around the door gasket and feel for torn corners or flattened stretches. Close the door on a strip of paper at several points along the seal; it should drag as you pull it free. Then turn to airflow. USDA advises keeping the front grille clear of dust and lint so air reaches the condenser, and brushing or vacuuming the condenser coil several times a year. Thermador’s Freedom guide adds that the ventilation openings should never be covered and should be vacuumed once a year.
When the frost comes straight back
If ice returns within a week or two on a frost-free model, the defrost circuit needs testing rather than another thaw. The same goes for a fan blade striking ice or water collecting under the crisper drawers. A technician checks the heater, the sensor and the control in turn, and clears the drain if it has frozen. Our visit starts with the $80 diagnostic. If the culprit turns out to be a worn door seal, that repair typically falls in the $200–$660 range, with the firm figure given once the diagnosis is done. Owners of columns in Fleming Island and along the Doctors Lake shore can read more about warm compartments on our built-in refrigeration page.
What does this cost to put right?
The visit is $80. Beyond that, the honest answer is a band and not a number, because the same symptom has two or three candidate causes and they do not cost the same. The bands that fit this page are below. Parts and labour together, the work on this sheet lands between $440 and $2,360. The exact number is set down in writing once the fault has been read, and nothing is ordered until you have seen it.
| Repair | Parts and labour |
|---|---|
| Diagnostic visit, credited to the repair | $80 |
| Refrigeration column sealed system | $900–$2,360 |
| Control board or touch panel | $440–$1,050 |